How to Make an Invoice – Step by Step Guide
5min read
|
Feb 12, 2026
Create a professional invoice in minutes using templates, online tools, or
invoicing software — no accounting knowledge required.
Creating a professional invoice doesn’t have to be complicated or time-
consuming. With the right layout and tools, you can generate a clear, compliant
invoice in just a few minutes — even if you have no accounting
background.Whether you invoice occasionally or manage recurring clients, the
following steps will help you create invoices that look professional and get paid
faster.
Step 1: Choose a Professional Invoice Layout
Before adding any details, start by choosing a clean, professional invoice
layout.
A well-structured layout makes your invoice easier to read, easier to pay, and
more likely to be accepted by clients. A clear layout also reduces back-and-
forth questions and helps your invoice look consistent with your brand. You can
choose one of the following methods to create your invoice layout.
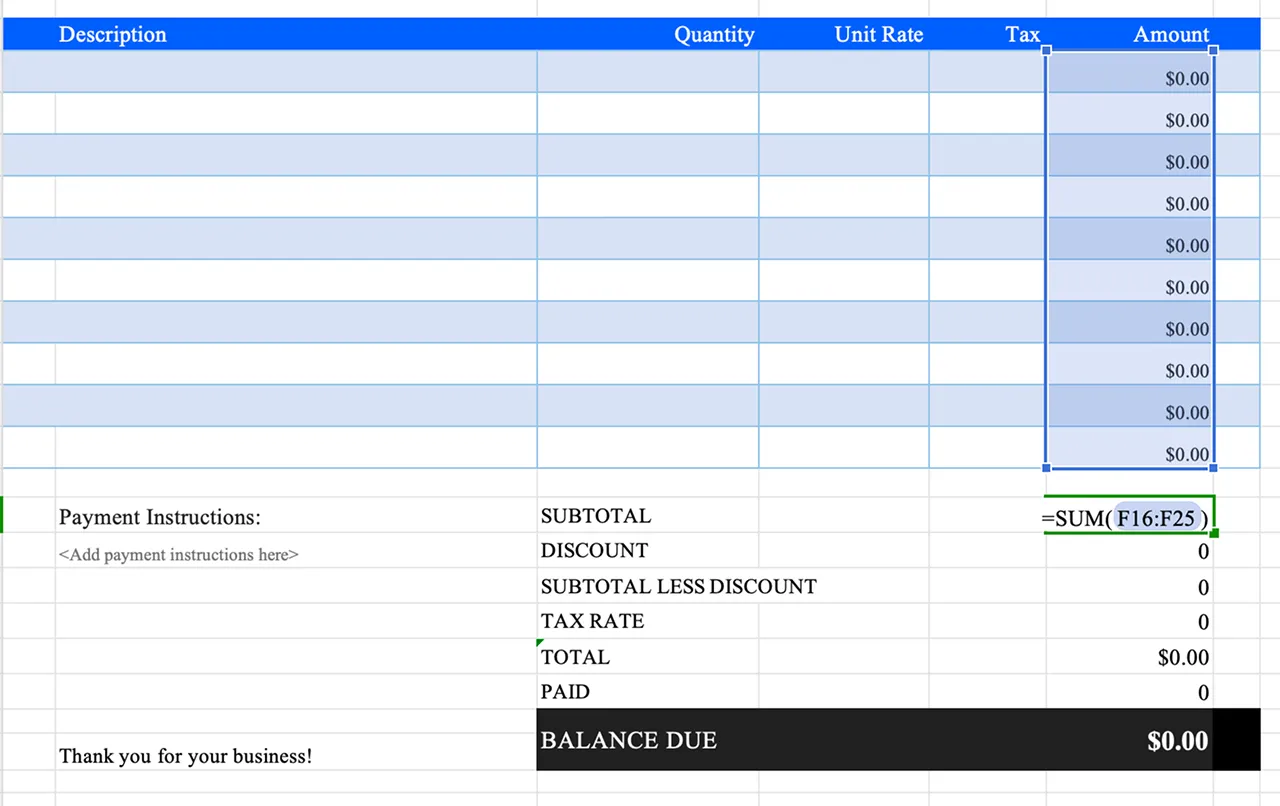
Option 1: Create Your Own Invoice Layout (Excel or Spreadsheet)
You can build a custom invoice using Excel or Google Sheets.
Best for:
Occasional invoicing, full layout control, and users comfortable with formulas.
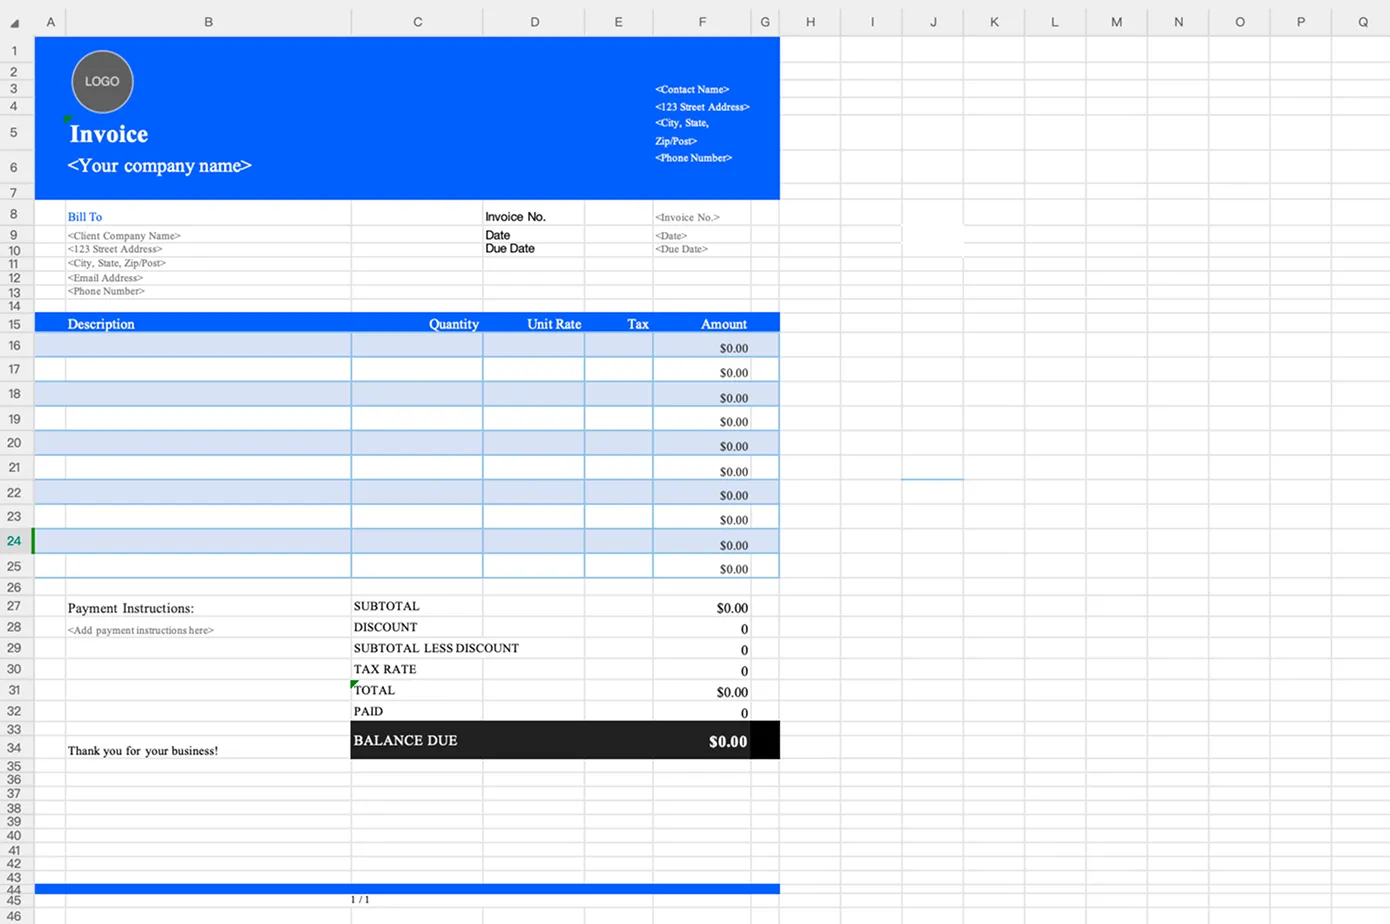
Your spreadsheet layout should include:
- Invoice title and header
- Business information
- Client details
- Itemized services or products table
- Subtotal, tax, and total amount
While spreadsheets give you flexibility, manual layouts require careful
formatting and calculations. Errors in formulas or inconsistent formatting can
easily lead to incorrect totals or an unprofessional appearance, especially as
invoice volume increases.
Invoice templates help you skip design work and start invoicing
immediately.
Available formats:
- Excel
- Word
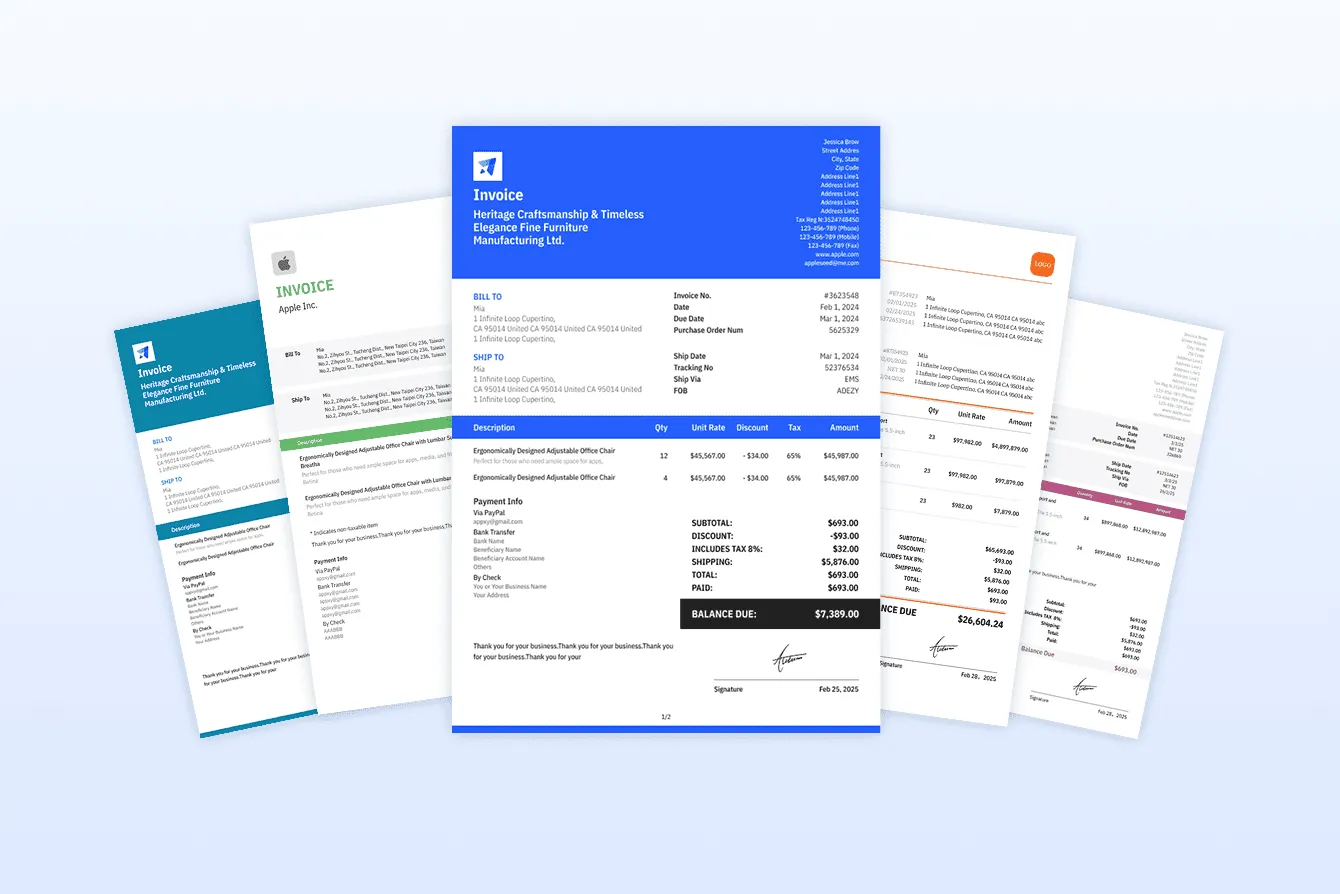
Templates provide a consistent structure and reduce setup time. Choose a
template that fits your industry, currency, and billing style to ensure your invoice
looks familiar and professional to clients.
Best for:
- Freelancers and small businesses
- Standard invoicing needs
- Fast setup with minimal effort
While templates save design time, they still require manual input, similar to
creating an invoice in a spreadsheet. Filling in data can be time-consuming,
and because templates are editable, it’s easy to accidentally change the layout
or break the formatting.
An online invoice generator automatically creates a professional layout for you.
This is one of the most convenient options. It offers several clear advantages
including
- Freelancers and small businesses
- Standard invoicing needs
- Fast setup with minimal effort
This option eliminates formatting and math errors, while also saving time. Online
generators are especially useful when you need to create, send, and track invoices
quickly without managing files manually.
One limitation is that most online invoice generators do not save client or
product information. This means you may need to enter the same details again
each time you create a new invoice.
Option 4: Use Invoicing Software
If you send invoices regularly, invoicing software offers more control and
automation. Features often include client management, invoice history,
recurring billing, and payment tracking.
Ideal for:
- Contractors and agencies
- Recurring clients
- Growing businesses
Invoicing software helps you stay organized as your business scales, reducing
administrative work and improving cash flow visibility.
Although these options differ in ease of use and convenience, the information
required on an invoice is the same in all cases. The right choice depends on
your needs and how often you invoice. Below, we’ll use a basic invoice
template as an example to show how to fill out an invoice step by step.
Step 2: Add Your Business Information
Once the layout is ready, add your business details at the top of the invoice.
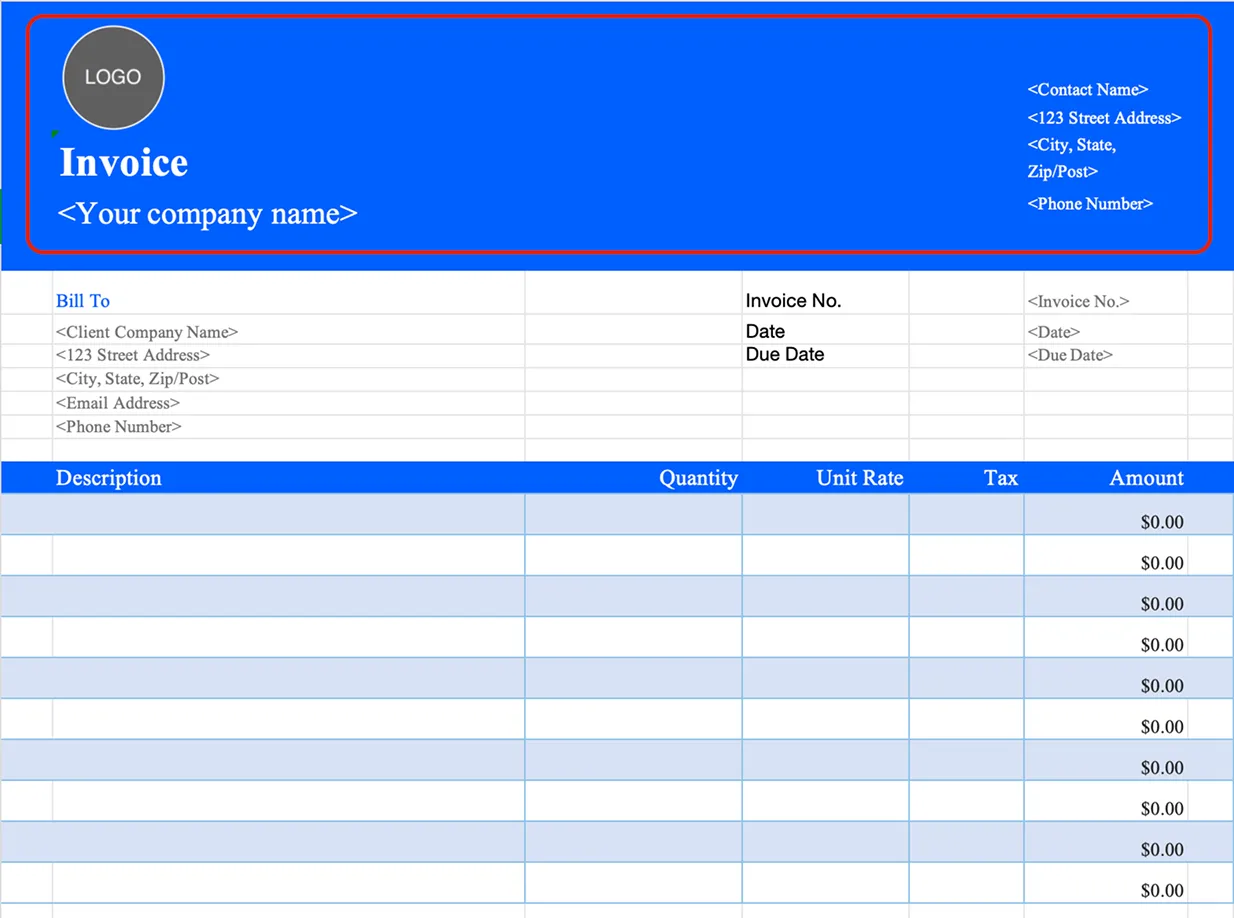
Required information:
- Business name
- Address
- Email or phone number
- Logo (optional but recommended)
Clear business information helps clients verify who the invoice is from and
builds trust.
💡 Tip: Save your business profile so you don’t need to re-enter it every time.
Step 3: Add Client Information
Correct client details help avoid payment delays and disputes. Look for the “Bill
To” section and enter the following details in the invoice template.
- Client or company name
- Billing address
- Invoice email address
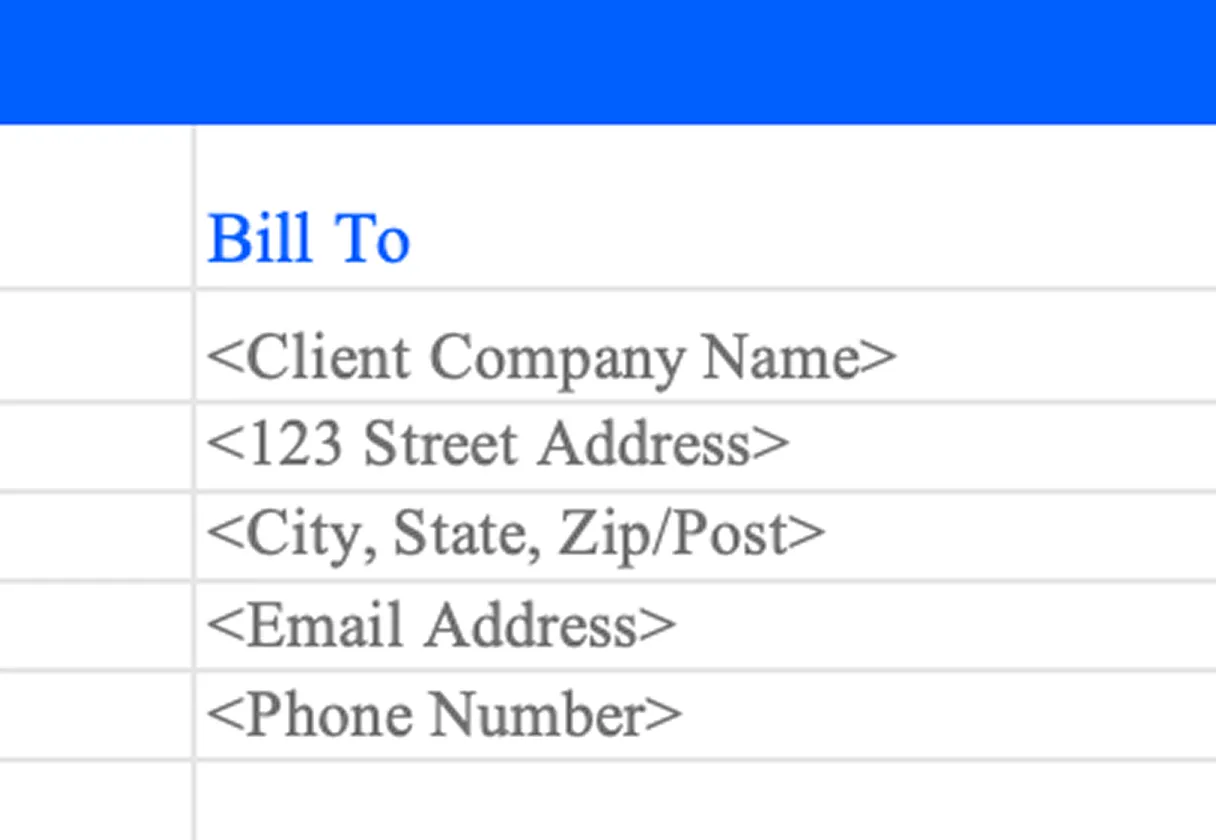
Using accurate, complete client information ensures the invoice
reaches the right person and can be processed without issues.
❌ Avoid using nicknames or incomplete company names.
Step 4: Assign an Invoice Number and Dates
Every invoice should have clear identifiers for tracking and record-keeping.
Add the following:
- Invoice number (must be unique)
- Invoice issue date
- Payment due date
Example numbering formats:
- INV-2025-001
- INV-CLIENT-002
Consistent numbering makes it easier to track payments and resolve disputes.
Most invoice generators can assign numbers automatically.
Step 5: List Products or Services
Use an itemized list so clients clearly understand what they're paying for.
Standard fields:
- Description
- Quantity or hours
- Unit price
- Line total
Example:
Website design service - 10 hours x $50 = $500
Itemized invoices reduce questions, improve transparency, and speed up approvals and payments.
Step 6: Calculate Subtotal, Tax, and Discounts
Follow this calculation order:
- Subtotal
- Tax (VAT, GST, or sales tax if applicable)
- Discount (optional)
- Total amount due
Most templates include built-in formulas, so at this step you usually only need
to enter the tax rate and discount. However, calculations still depend on correct
input. Using an invoice generator or invoicing software helps avoid calculation
mistakes and ensures totals are always correct.
Step 7: Add Payment Terms and Methods
Clear payment terms help you get paid faster and set expectations upfront.
This information is usually placed in the bottom-left section of the invoice.
Include:
- Payment terms (Net 7, Net 14, Net 30)
- Accepted payment methods
- Late payment note (optional)
Example:
Payment is due within 14 days of the invoice date.
Clear terms reduce confusion and minimize late payments.
Step 8: Review and Send the Invoice
Before sending, double-check:
- Totals and tax amounts
- Client email address
- Invoice number and due date
Send options:
- Download as PDF
- Email invoice directly
- Share invoice link
PDF format is recommended for professionalism and compatibility across
devices.
Step 9: Save the Invoice as a Reusable Template
If you invoice similar services repeatedly, save your invoice as a template.
Best for:
- Monthly clients
- Fixed pricing services
- Recurring work
Templates save time, reduce errors, and help maintain a consistent brand
image. If you need more speed and flexibility,
our invoicing software
lets you
save client and product information for future use. This allows you to create
and send invoices in just a few clicks. You’ll also have access to advanced
features like invoice management and payment tracking.
Most Popular Pages


Try Invoice Zip Today
Start Sending Invoices, Building Reports, Saving Office
Time and Get Paid Faster.